
Essential Nail Care for Your Dog in Dundee
Why Regular Nail Maintenance is Crucial for Your Dog's Health
A walk with your dog along the River Tay or through Camperdown Park is one of life’s simple pleasures. But what if that enjoyable stroll was causing your companion discomfort? For many dogs, overgrown nails can turn every step into a source of pain. This isn't just about aesthetics; it's a fundamental part of their health and wellbeing.
Think of it like being forced to wear shoes that are two sizes too small. When a dog's nails are too long, they hit the ground with every step, pushing the nail back into the nail bed. This creates constant, unnatural pressure on their toe joints. Over time, this can misalign the joints and even affect the tendons. The dog's entire foot structure is compromised, leading to a subtle but persistent discomfort that can change how they stand and move.
The immediate risks are just as concerning. Long nails are far more likely to get snagged on carpets or outdoor terrain, leading to painful splits or breaks. A nail can even tear away from the quick, causing significant bleeding and a high risk of infection. In severe cases, nails can curl around and grow directly into the paw pad, creating a painful wound that requires veterinary attention. These are not just possibilities; they are common issues that vets see regularly.
This constant discomfort also forces a dog to alter its posture. To avoid the pressure on their toes, they may shift their weight back, putting undue strain on their leg joints and spine. For older dogs, especially those with arthritis, this can make a manageable condition much worse. By keeping their nails at a healthy length, you are practising preventative care. You are also protecting your home from scratched floors and furniture, and yourself from accidental scratches during playtime. Regular nail care is not a cosmetic luxury; it is a cornerstone of your dog's long-term health.
Recognising When Your Dog's Nails Are Too Long
Now that we understand the importance of nail maintenance, how can you tell when a trim is due? Your dog cannot tell you their nails are uncomfortable, but they do give off clear signals. Learning to spot these signs is the first step in proactive nail care. Instead of waiting for a problem, you can become confident in assessing their needs yourself.
Here are four simple checks to determine if your dog's nails are too long:
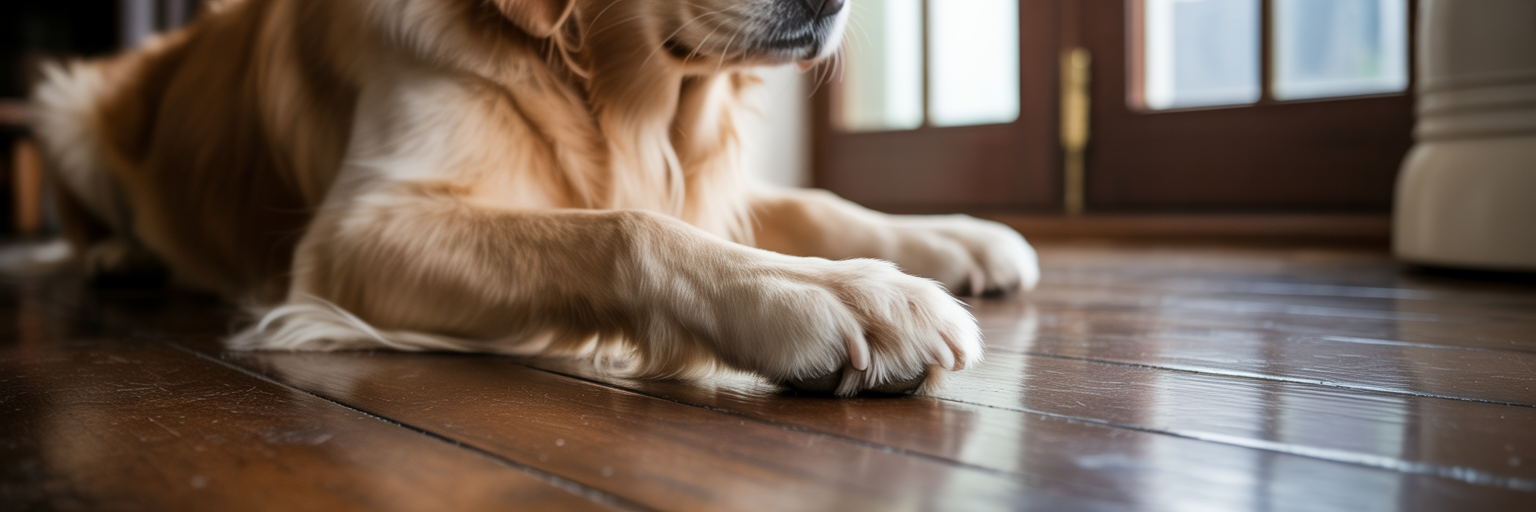
- The 'Click-Clack' Test: This is the most obvious auditory cue. When your dog walks across a hard surface like laminate, tile, or wooden flooring, listen carefully. If you hear a distinct clicking or tapping sound, their nails are making contact with the ground before their paw pads. Healthy nails should be silent on hard floors.
- The Visual Inspection: Ask your dog to stand on a flat, level surface. Look at their paws from the side, at eye level. Their nails should not be touching the ground. If they are, they are too long. You can also gently lift a paw to inspect the nail's curvature.
- Changes in Gait or Posture: Sometimes the signs are more subtle. A dog with overgrown nails might stand with its paws splayed out to the sides to minimise pressure. You might also notice a reluctance to walk on hard surfaces, preferring grass or carpet instead.
- The Shape of the Nail: As nails grow, they begin to curve downwards. A slight curve is normal, but if you see a pronounced arc, especially one that looks like it is heading towards the paw pad, a trim is overdue. This is one of the clearest signs dog nails are too long.
By performing these quick checks weekly, you can stay ahead of any potential issues and ensure your dog remains comfortable and mobile.
Gathering Your Tools and Creating a Calm Environment
Once you have identified that a trim is needed, the next step is preparation. Rushing into the process with the wrong tools or a stressed-out mindset is a recipe for a bad experience for both you and your dog. Taking a few minutes to prepare properly can transform nail trimming from a dreaded chore into a manageable, even positive, interaction.
First, let's gather the right equipment. Having everything you need within arm's reach is essential. Your toolkit should include:
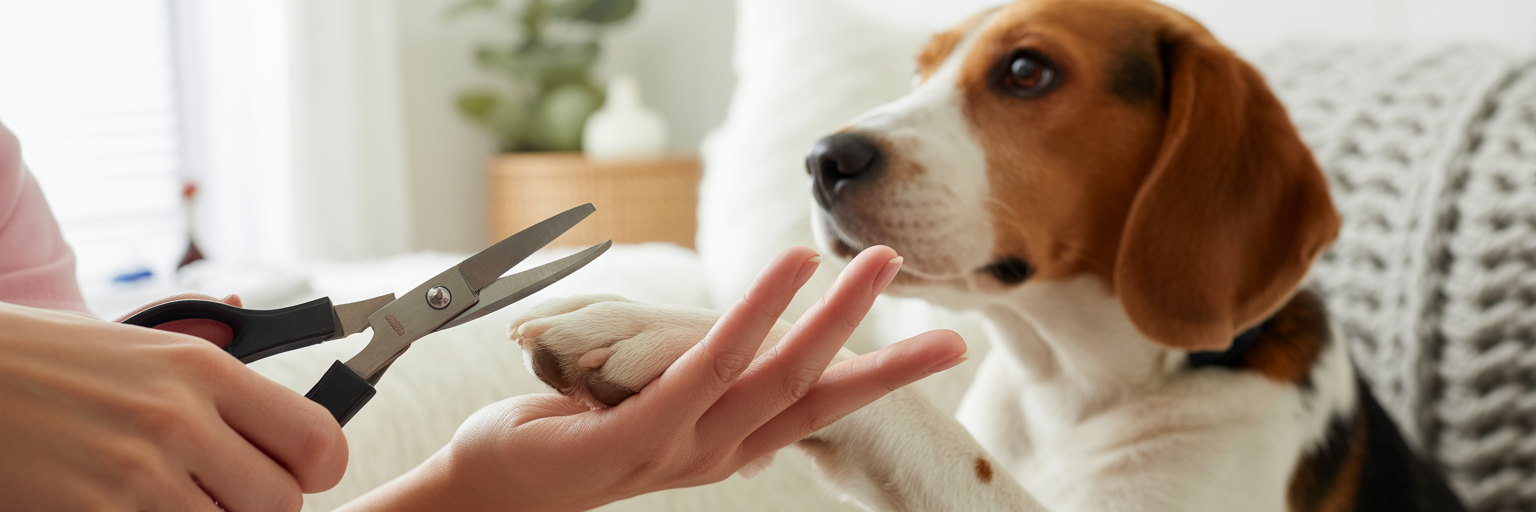
- Nail Clippers: There are two main types. Scissor-style clippers work well for most dogs, while guillotine-style clippers are often easier to use on smaller breeds. Choose a pair that feels comfortable in your hand.
- Nail Grinder (Optional): Some dogs hate the 'snap' of clippers. For these sensitive souls, a grinder can be a fantastic alternative. Professional dog nail grinding can be an excellent option to explore if you are unsure.
- Styptic Powder: This is a non-negotiable safety item. If you accidentally cut the quick, this powder will stop the bleeding quickly. In a pinch, cornflour or plain flour can also work.
- High-Value Treats: Have small, delicious treats ready to reward your dog for their cooperation. This helps build a positive association with the process.
With your tools ready, consider the environment. Choose a quiet room with good lighting where you will not be disturbed. A calm space helps keep your dog relaxed. Pick a time when your dog is naturally tired and calm, perhaps after a long walk or in the evening. Your own mindset is just as important. Your dog will sense your anxiety, so take a deep breath and approach the task with patience. It is far better to trim one nail successfully and end on a positive note than to force a full pedicure on a stressed dog.
A Step-by-Step Method for Safe At-Home Trimming
With your tools and a calm environment ready, it is time to begin. The key to success is to work with confidence and precision, always prioritising your dog’s safety. Many owners feel nervous about this part, but by following a clear method, you can learn how to cut dog's nails safely and build trust with your pet. Remember, the goal is to trim tiny amounts at a time.
Follow these steps for a stress-free trim:
- Hold the Paw Securely: Gently but firmly hold your dog’s paw. Your thumb should be on the pad of the toe and your forefinger on the top of the toe over the nail. Make sure the fur is out of the way so you have a clear view. A firm hold prevents your dog from wiggling at the crucial moment.
- Identify the Quick: This is the most critical step. The quick is a vein and nerve that runs into the nail. On dogs with light-coloured nails, it is visible as a pink section inside the nail. You must avoid cutting this. On dark nails, the quick is not visible. For these nails, the trick is to trim only a tiny sliver off the end. After each tiny cut, look at the cut surface of the nail. As you get closer to the quick, a small dark circle will appear in the centre. According to veterinary advice from sources like VHA Vets, this circle is your signal to stop.
- Make Small, Angled Cuts: Do not try to take the whole tip off in one go. Instead, trim just the very tip of the nail at a slight angle, cutting from top to bottom. This 'less is more' approach is the safest way to shorten the nail without risk. You can always trim a little more, but you cannot undo a cut that is too short.
- Reward Immediately: After successfully clipping just one nail, immediately praise your dog and give them a high-value treat. This creates a powerful positive association. They learn that holding still for a moment results in something wonderful.
- Know What to Do in an Emergency: Even experienced groomers occasionally nick the quick. If this happens, do not panic. Calmly take a pinch of styptic powder and press it firmly onto the tip of the nail for about 30 seconds. The bleeding will stop. Reassure your dog, give them a treat, and consider ending the session for the day.
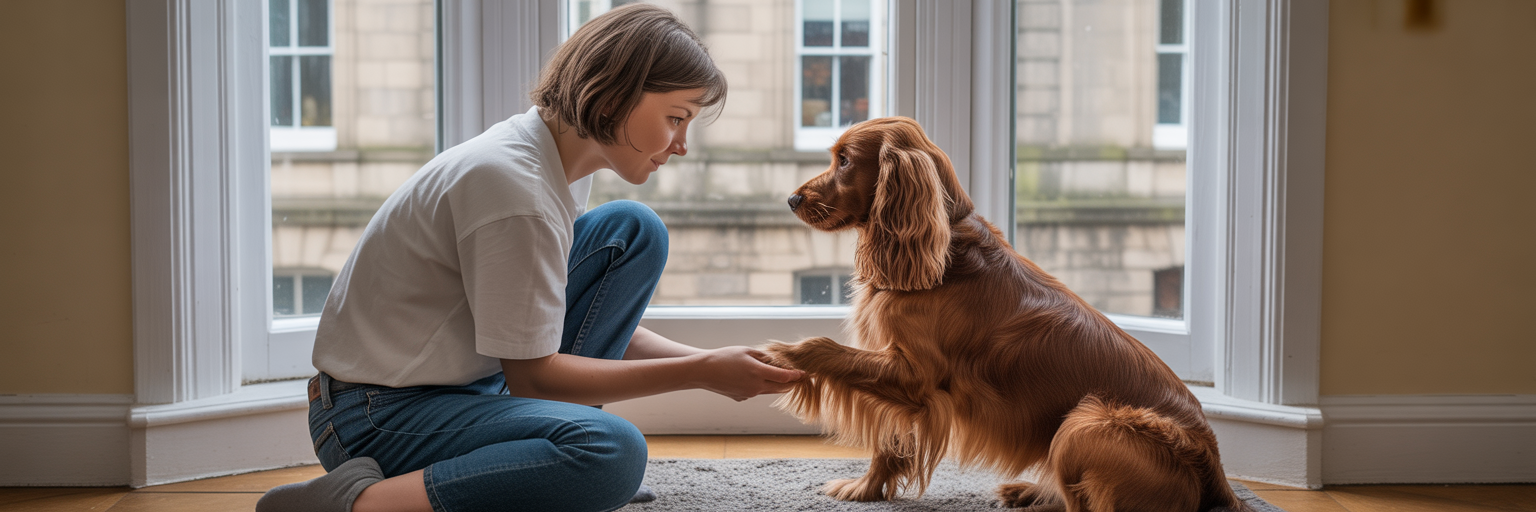
Helping a Nervous Dog Overcome a Fear of Nail Trims
What if your dog panics at the mere sight of the clippers? We have all seen it: the tucked tail, the frantic pulling away, the desperate look in their eyes. Forcing the issue will only deepen this fear. The solution lies not in restraint, but in changing their emotional response from terror to tolerance, and eventually, acceptance. This process uses two key concepts: desensitisation and counter-conditioning.
In simple terms, you will slowly get your dog used to the clippers (desensitisation) while pairing them with something they love, like treats (counter-conditioning). This requires patience and cannot be rushed. Here is a sample plan, but remember to move at your dog's pace:
- Day 1-3: Simply leave the clippers on the floor near their food bowl or bed. Let them sniff the clippers. When they do, praise them and give them a treat. Do not pick the clippers up yet.
- Day 4-6: Pick up the clippers and touch them gently to one of your dog's paws for a split second, then immediately give a treat. Do not attempt to clip. Repeat this several times over a few days.
- Day 7-9: Hold your dog's paw and squeeze the clippers near the nail so they hear the sound, but do not actually cut anything. Follow immediately with a jackpot of their favourite treats. This helps them get used to the noise.
- Day 10+: If your dog is calm, try to clip the tiniest tip off just one nail. Immediately follow with lots of praise and treats. End the session there. Tomorrow, you can try for another single nail.
These nervous dog nail trimming tips are all about building trust. As noted by veterinary resources like VCA Animal Hospitals, creating a positive association is a proven method to reduce stress. The entire process relies on changing your dog's emotional response. Understanding the principles of positive reinforcement in Dundee is key to building the trust needed for successful grooming. Watch for signs of stress like lip licking, yawning, or pulling away. If you see them, you are moving too fast. Stop, and go back a step tomorrow.
Finding Professional Dog Grooming Support in Dundee

After trying the at-home approach, you might decide it is not the right fit for you or your dog. That is perfectly okay. Choosing to use a professional is a responsible and caring decision, not a sign of failure. For many owners, the peace of mind that comes with an expert handling the task is invaluable. A professional groomer has the experience, the right tools, and the confidence to make the process quick and safe.
There are many excellent dog groomers in Dundee who can help. When you visit a professional, you can expect an efficient service that minimises stress for your dog. They are skilled at handling nervous animals and can complete a full set of nails in a fraction of the time it might take at home. This is especially beneficial for dogs with dark nails, where the risk of cutting the quick is higher for an inexperienced owner.
A visit to a groomer is also an opportunity to get expert advice tailored to your dog's specific needs. They can recommend a maintenance schedule and check for any underlying issues with your dog's paws or nails. When searching for a local dog nail clipping service, look for businesses with positive reviews and experience with your dog's breed or temperament. For many owners, a dedicated dog nail trimming service in Dundee offers the perfect balance of expertise and convenience, ensuring the job is done right every time.
| Factor | DIY At-Home Trimming | Professional Groomer in Dundee |
|---|---|---|
| Cost | Low (one-time tool purchase) | Per-visit fee |
| Convenience | Can be done anytime at home | Requires an appointment and travel |
| Stress Level (Owner) | Can be high, especially with anxious dogs | Low, as the task is handled by an expert |
| Stress Level (Dog) | Variable; can be high if inexperienced | Often lower due to quick, efficient handling |
| Safety & Expertise | Risk of cutting the quick if inexperienced | High level of safety and expertise |
This table helps you weigh the convenience and cost of DIY trimming against the safety, expertise, and peace of mind offered by a professional service.